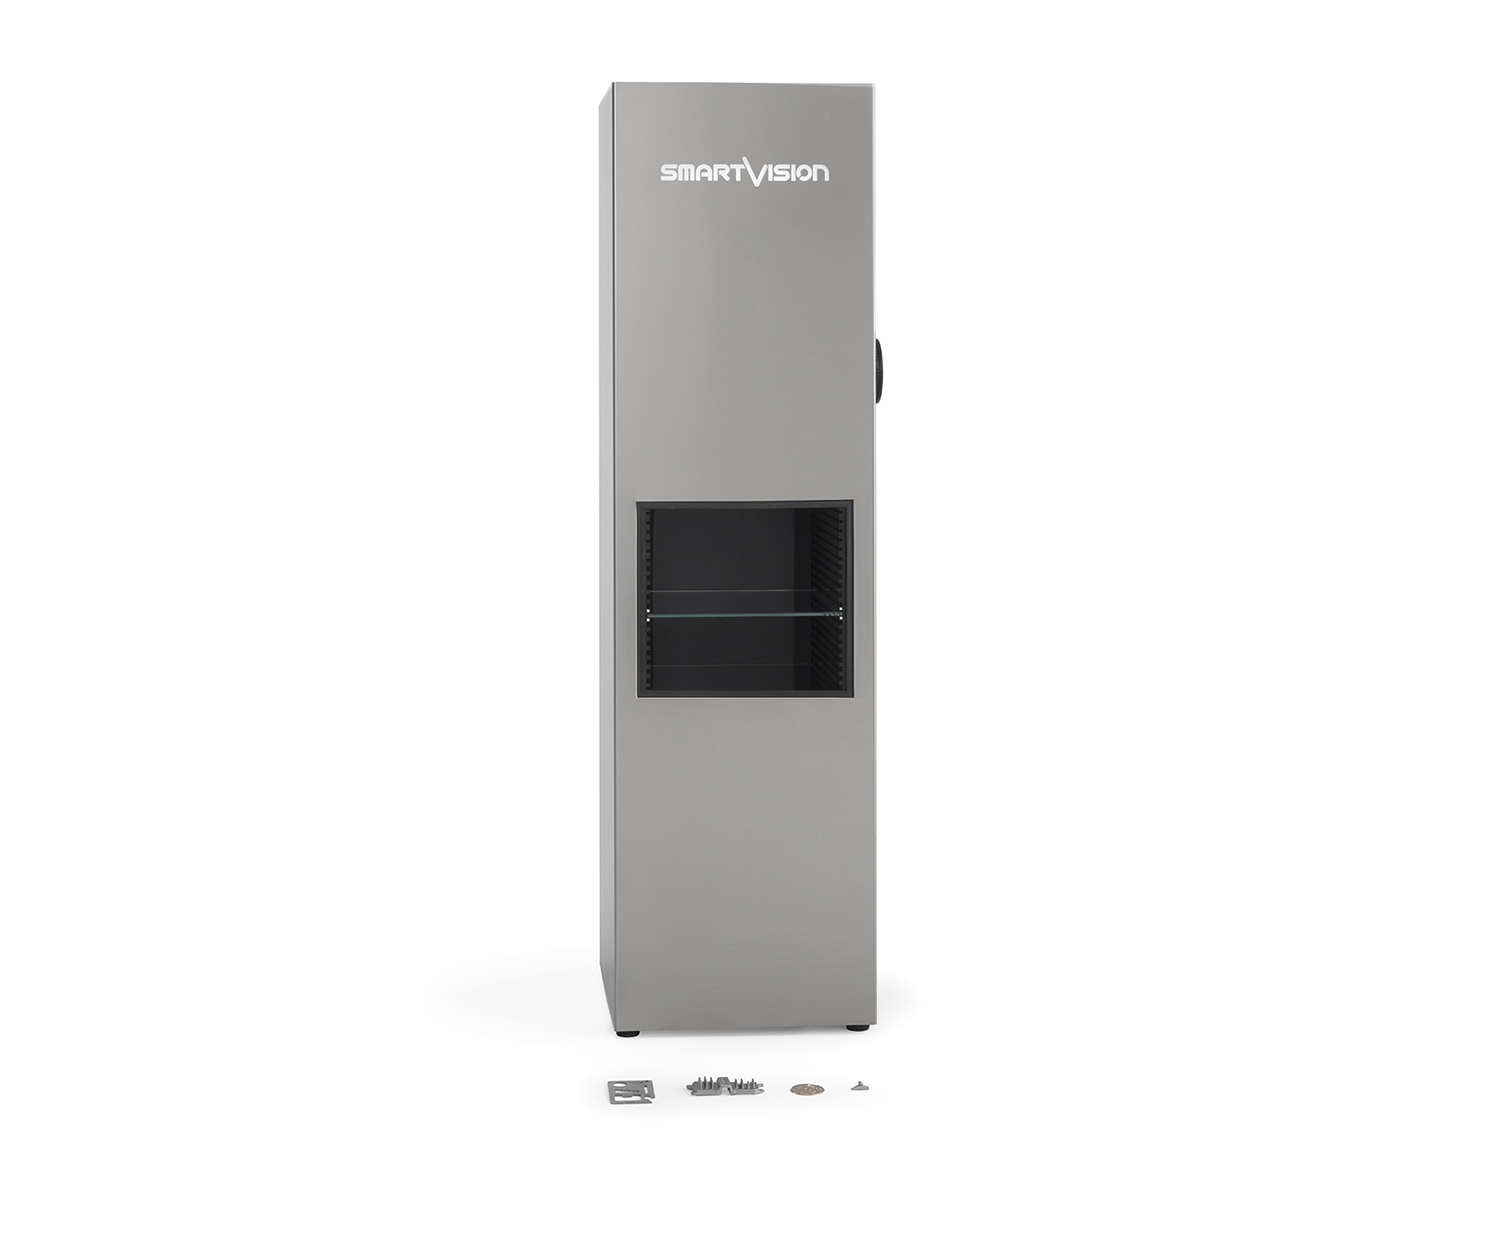
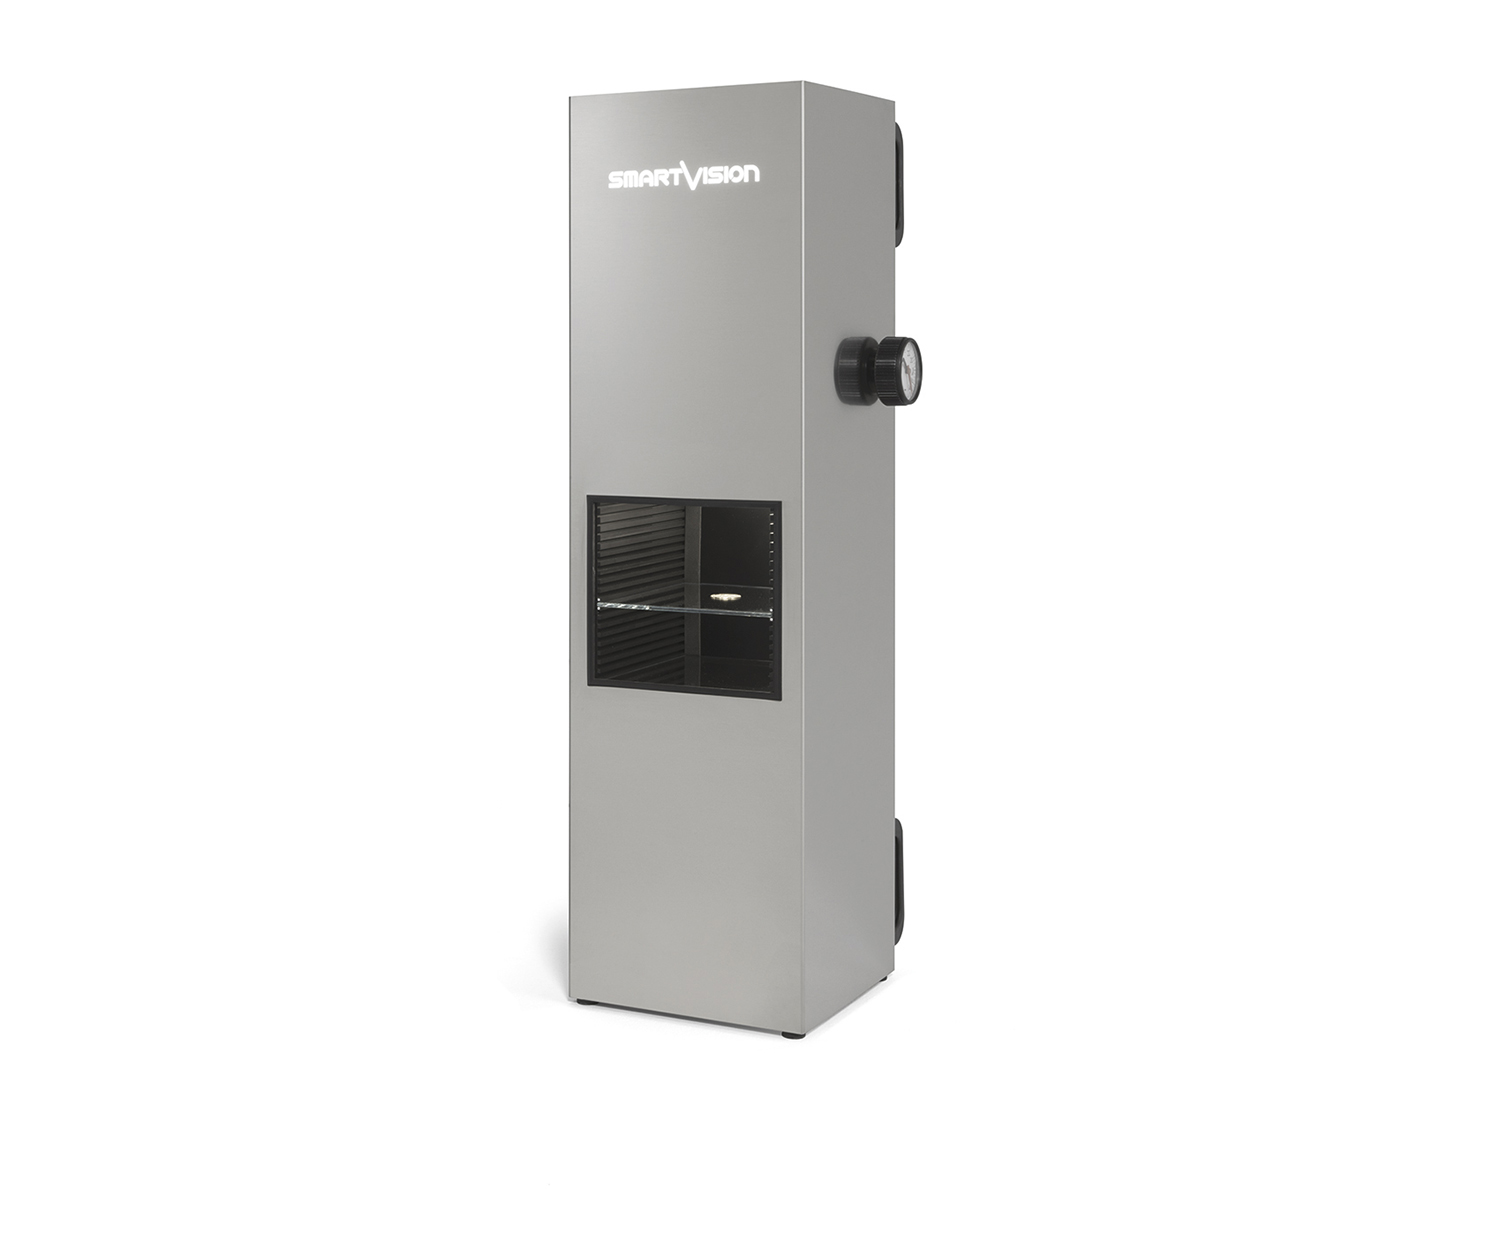
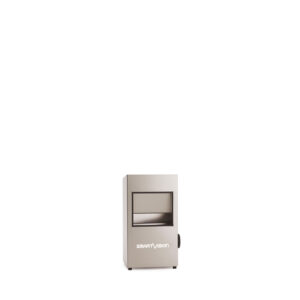
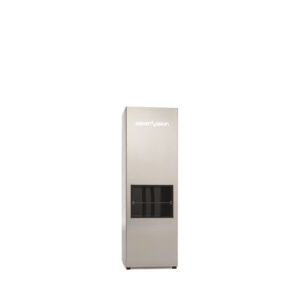
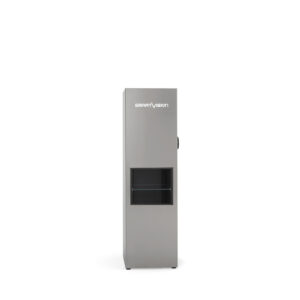
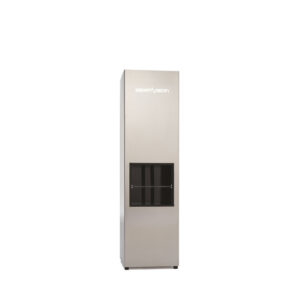
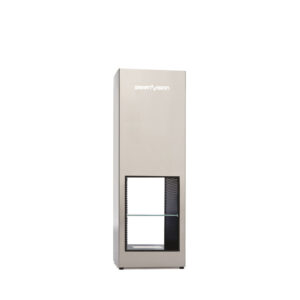
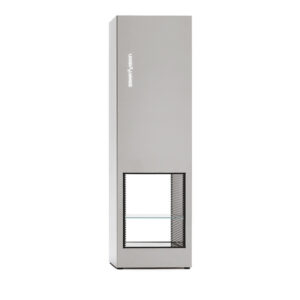
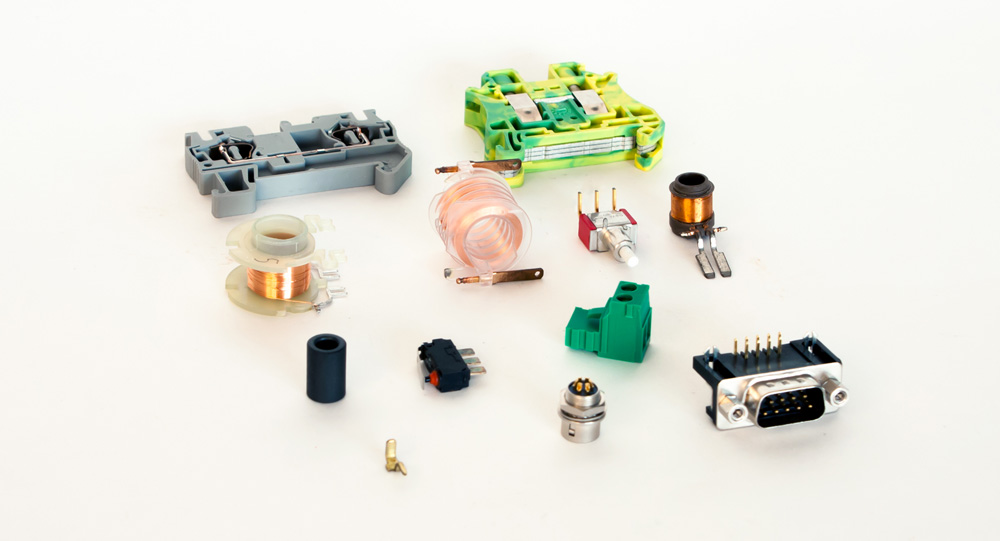
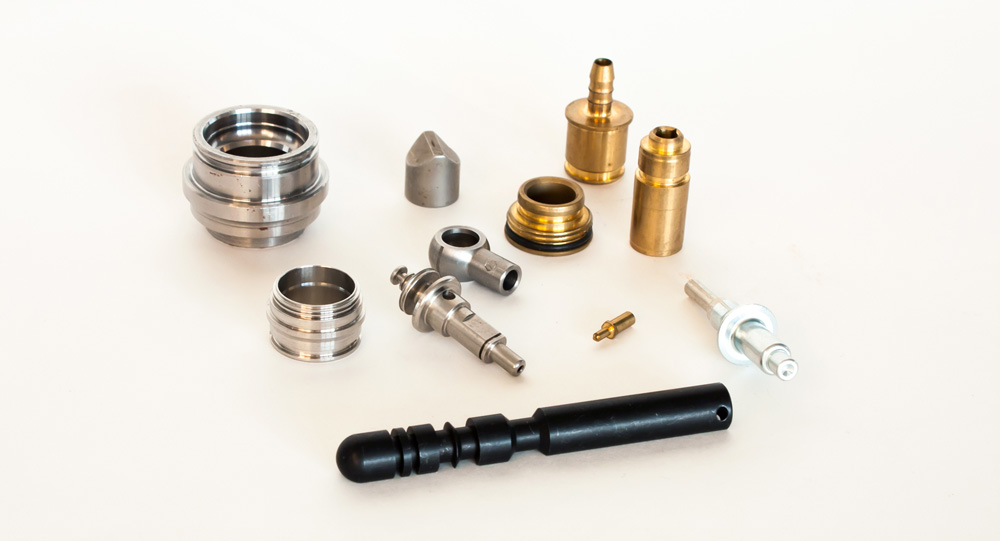
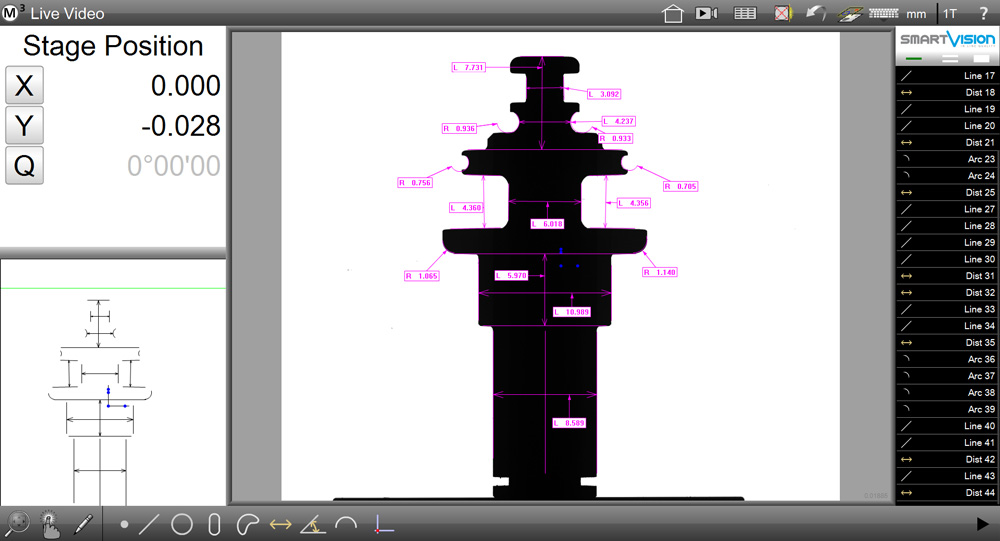
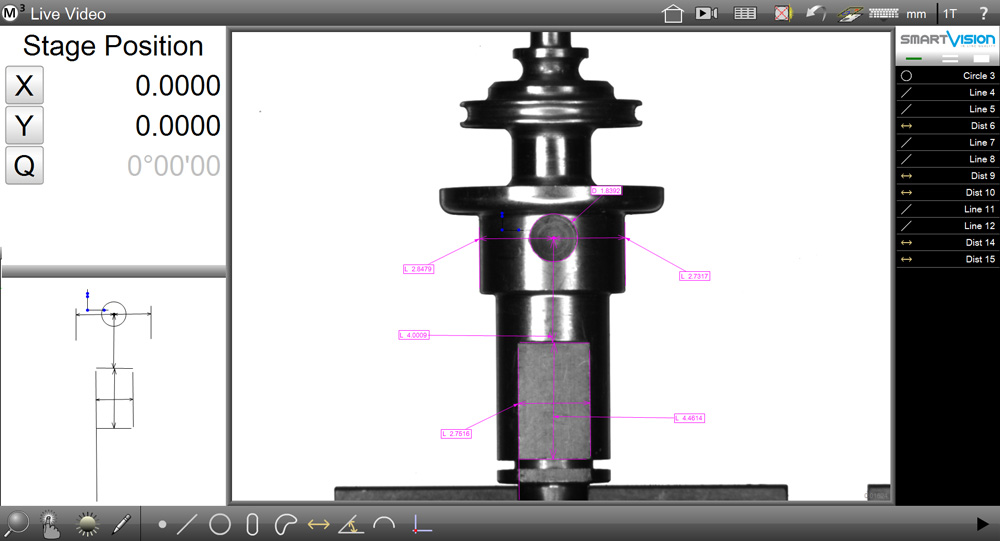
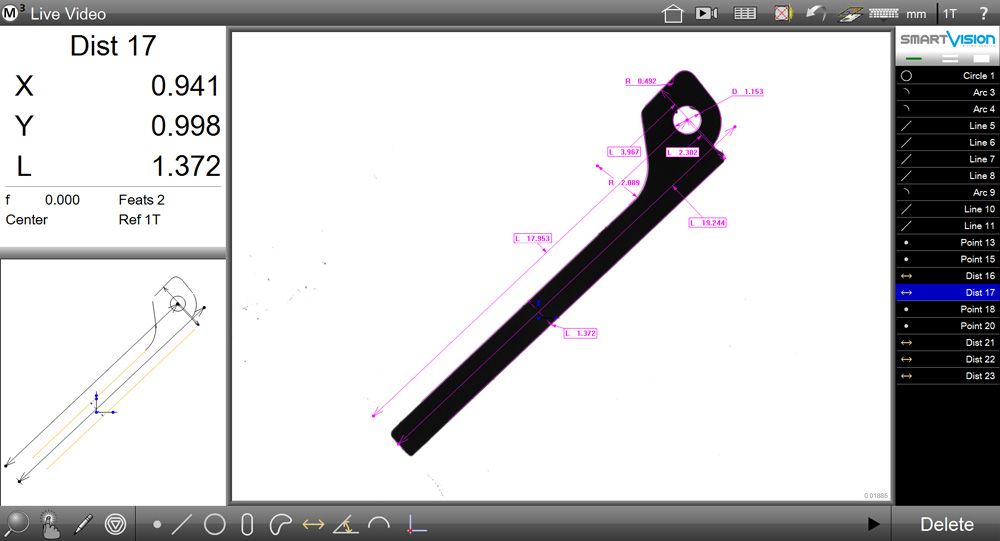
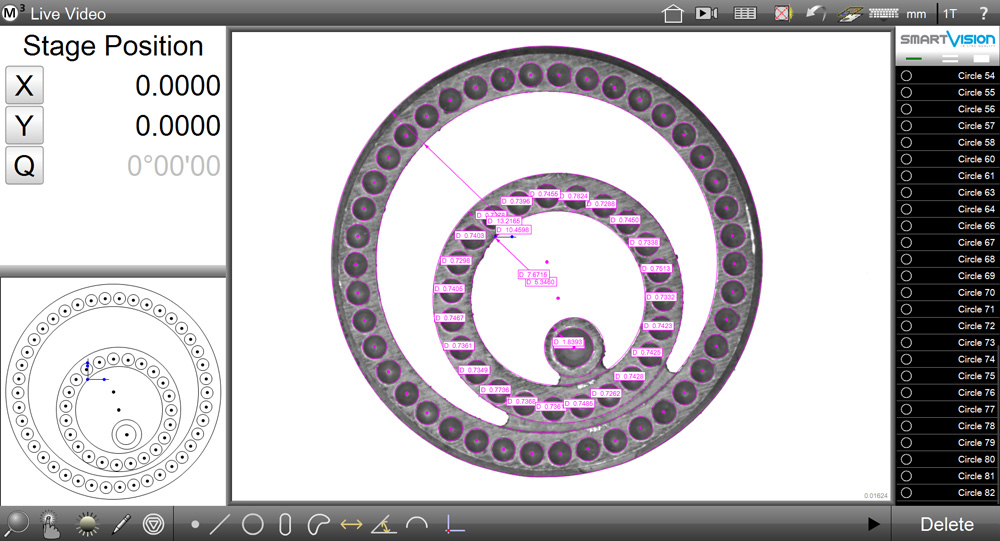
Smart_Projector_Quattro_Pro is an automatic Profile Projector that combines in one instrument the precision, objectivity, repeatability and user-friendliness of measurement for a right Quality Control.
Smart_Projector_Quattro_Pro
数字快速工业级影像测量仪器 – 光学变焦
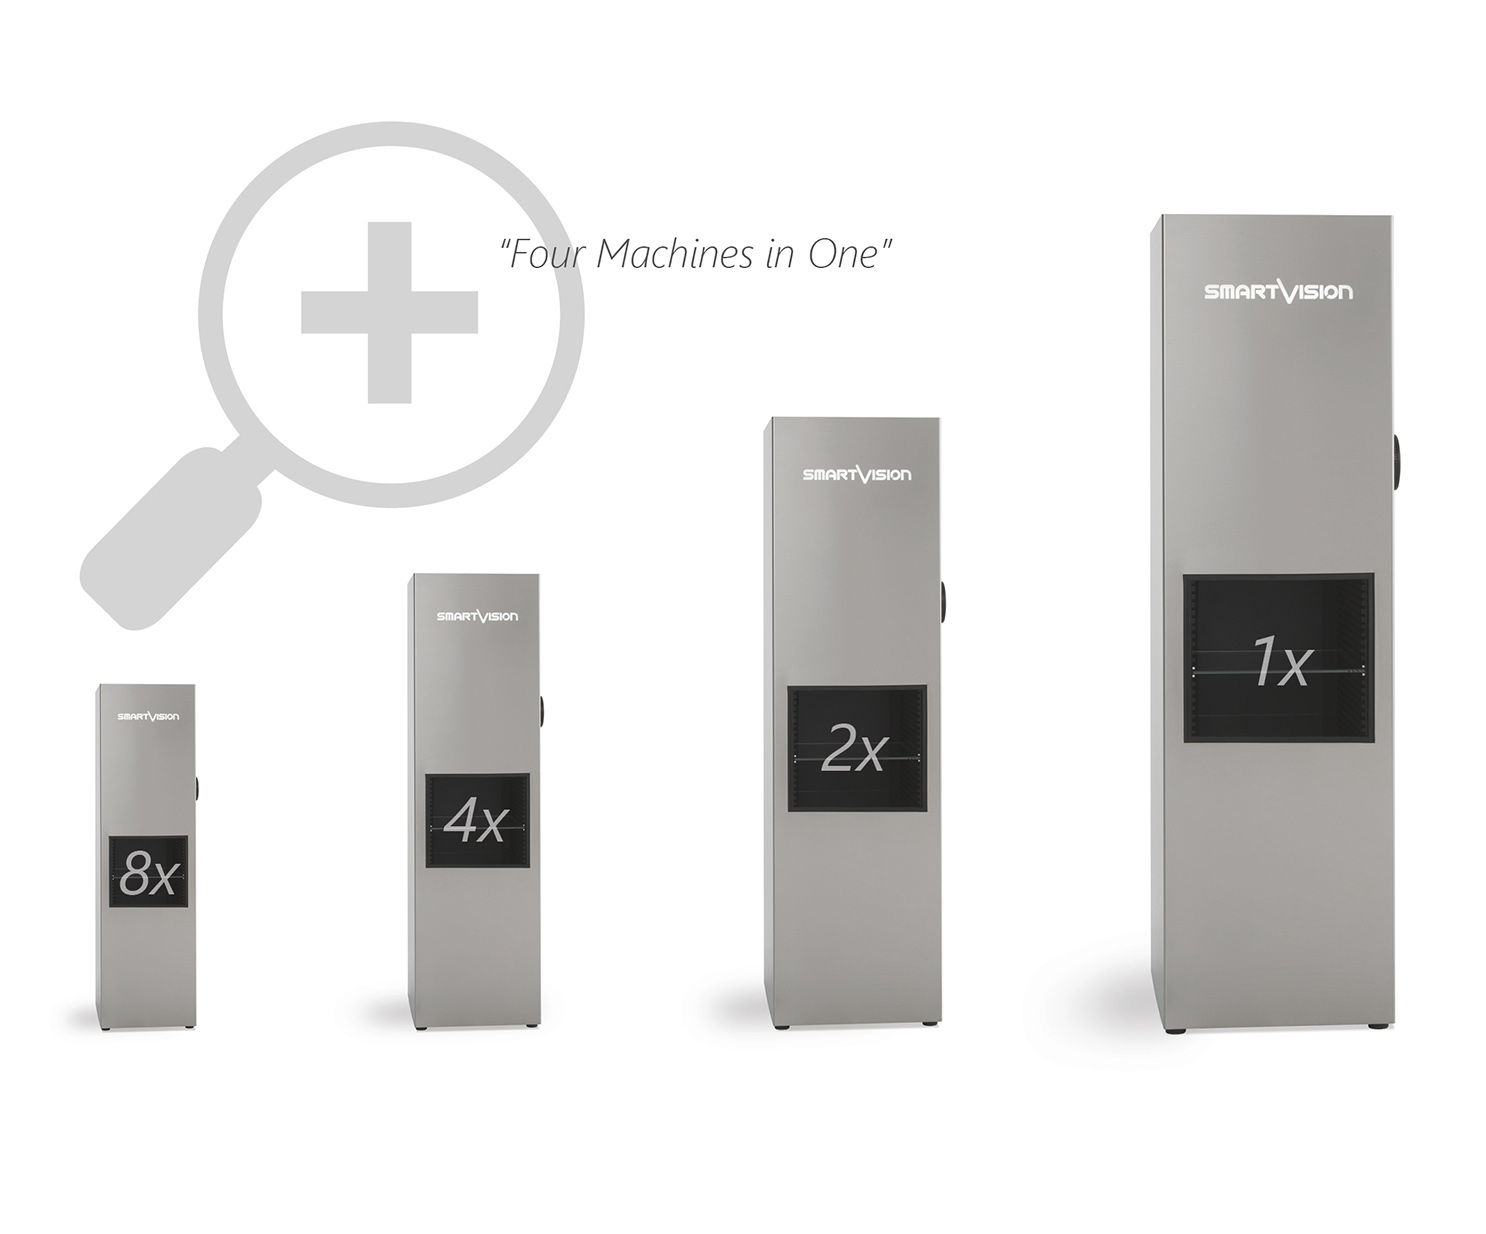
“The Power of Four Instruments in Unique One Smart_Projector!”
With an innovative optical solution of zoom lenses in only one device, this machine allows four different magnifications, changing the Field of View by software. This feature makes it in a 4-in-1 solution for automatic and complete dimensional check of a wide items range.
This device guarantees measurement stability of the image center when focusing and switching from one level of magnification to another. The benefits given by the flexibility of the zoom lenses and the accuracy of the fixed optics are merged together in this equipment with no compromise in precision. Four different FoV in unique one instrument: precision, flexibility and savings!
Smart_Projector_Quattro_Pro is a fast, compact, rugged, static, easy-to-use and easy-to-program device, designed for harsh environment and heavy duty cycle use.
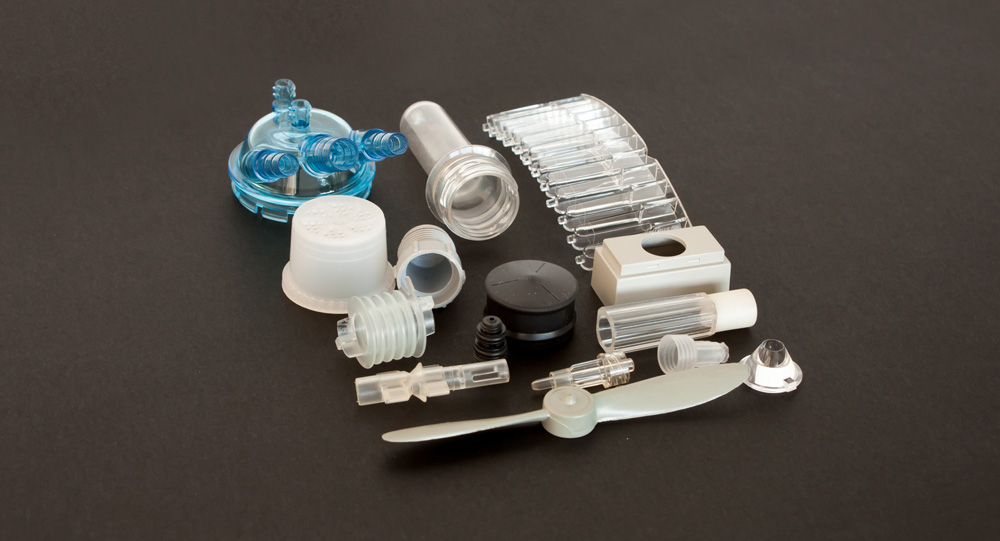
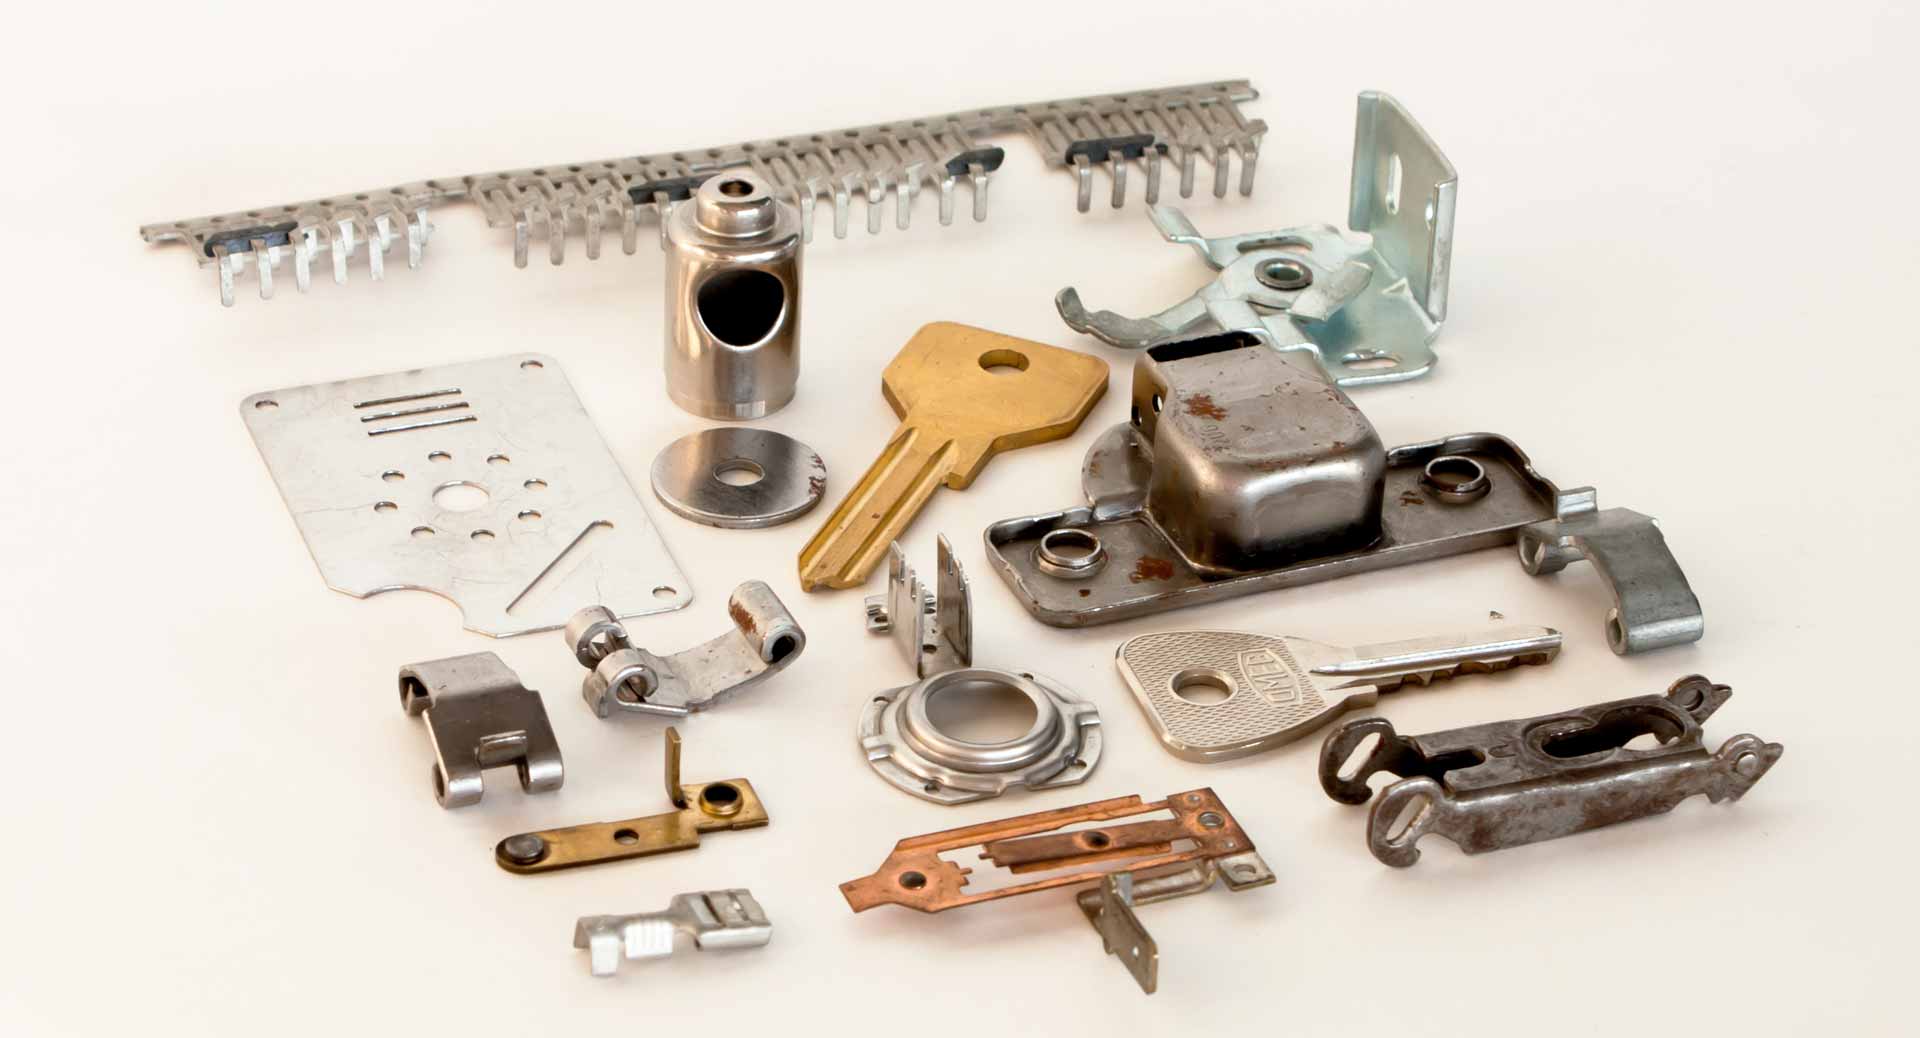
- Specifically suited for massive (production) quality inspection, in-line control, incoming inspection
- Eliminates subjectivity and errors of operator-based gauging
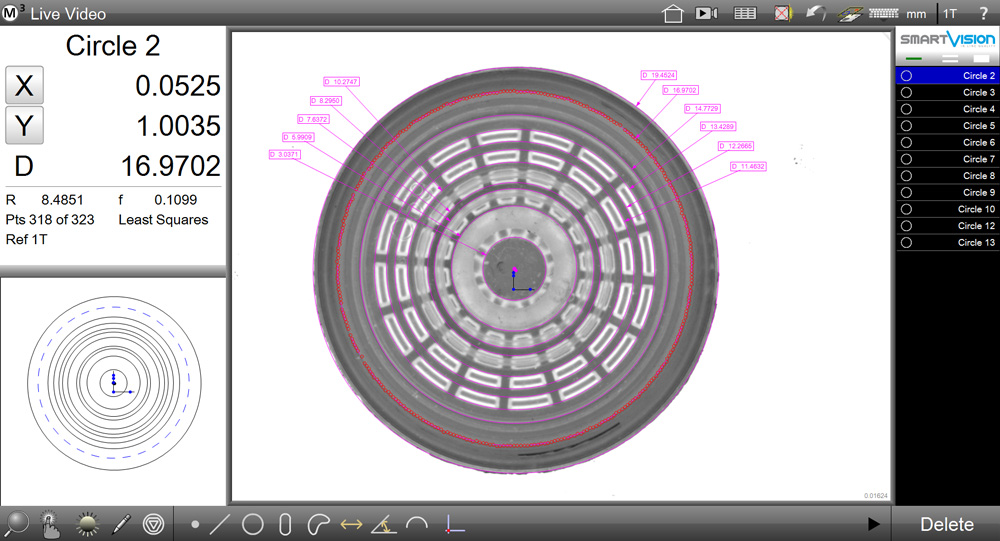
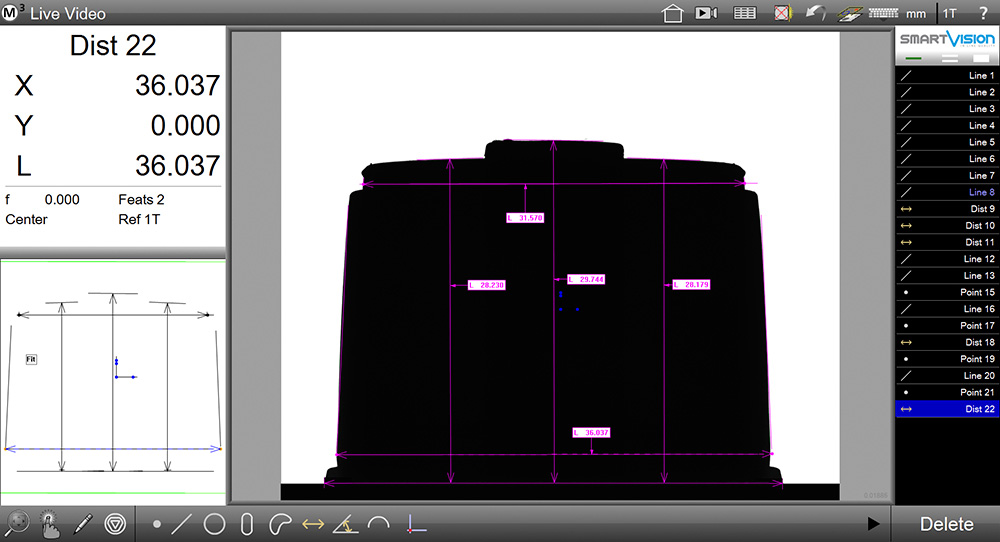
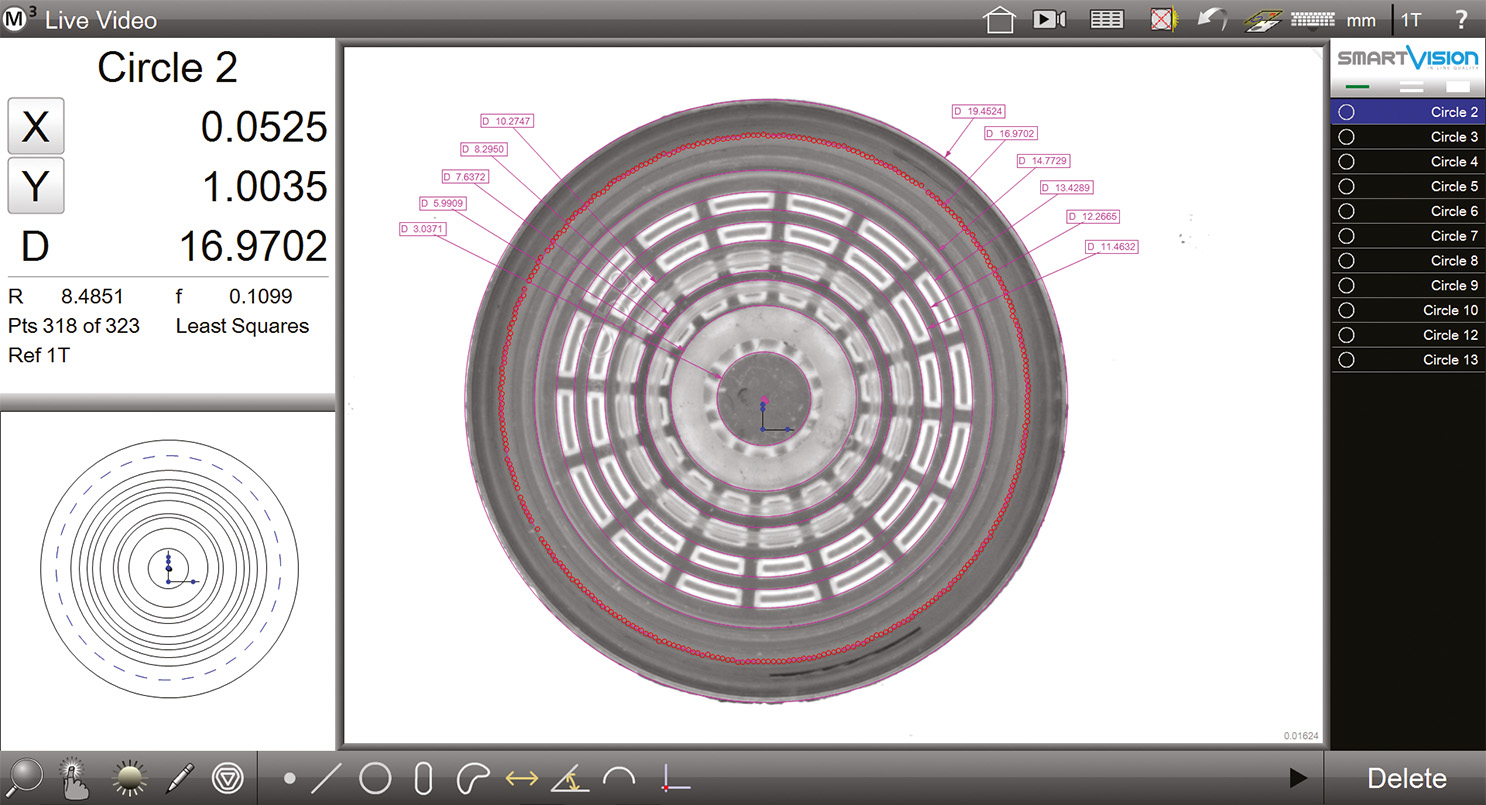
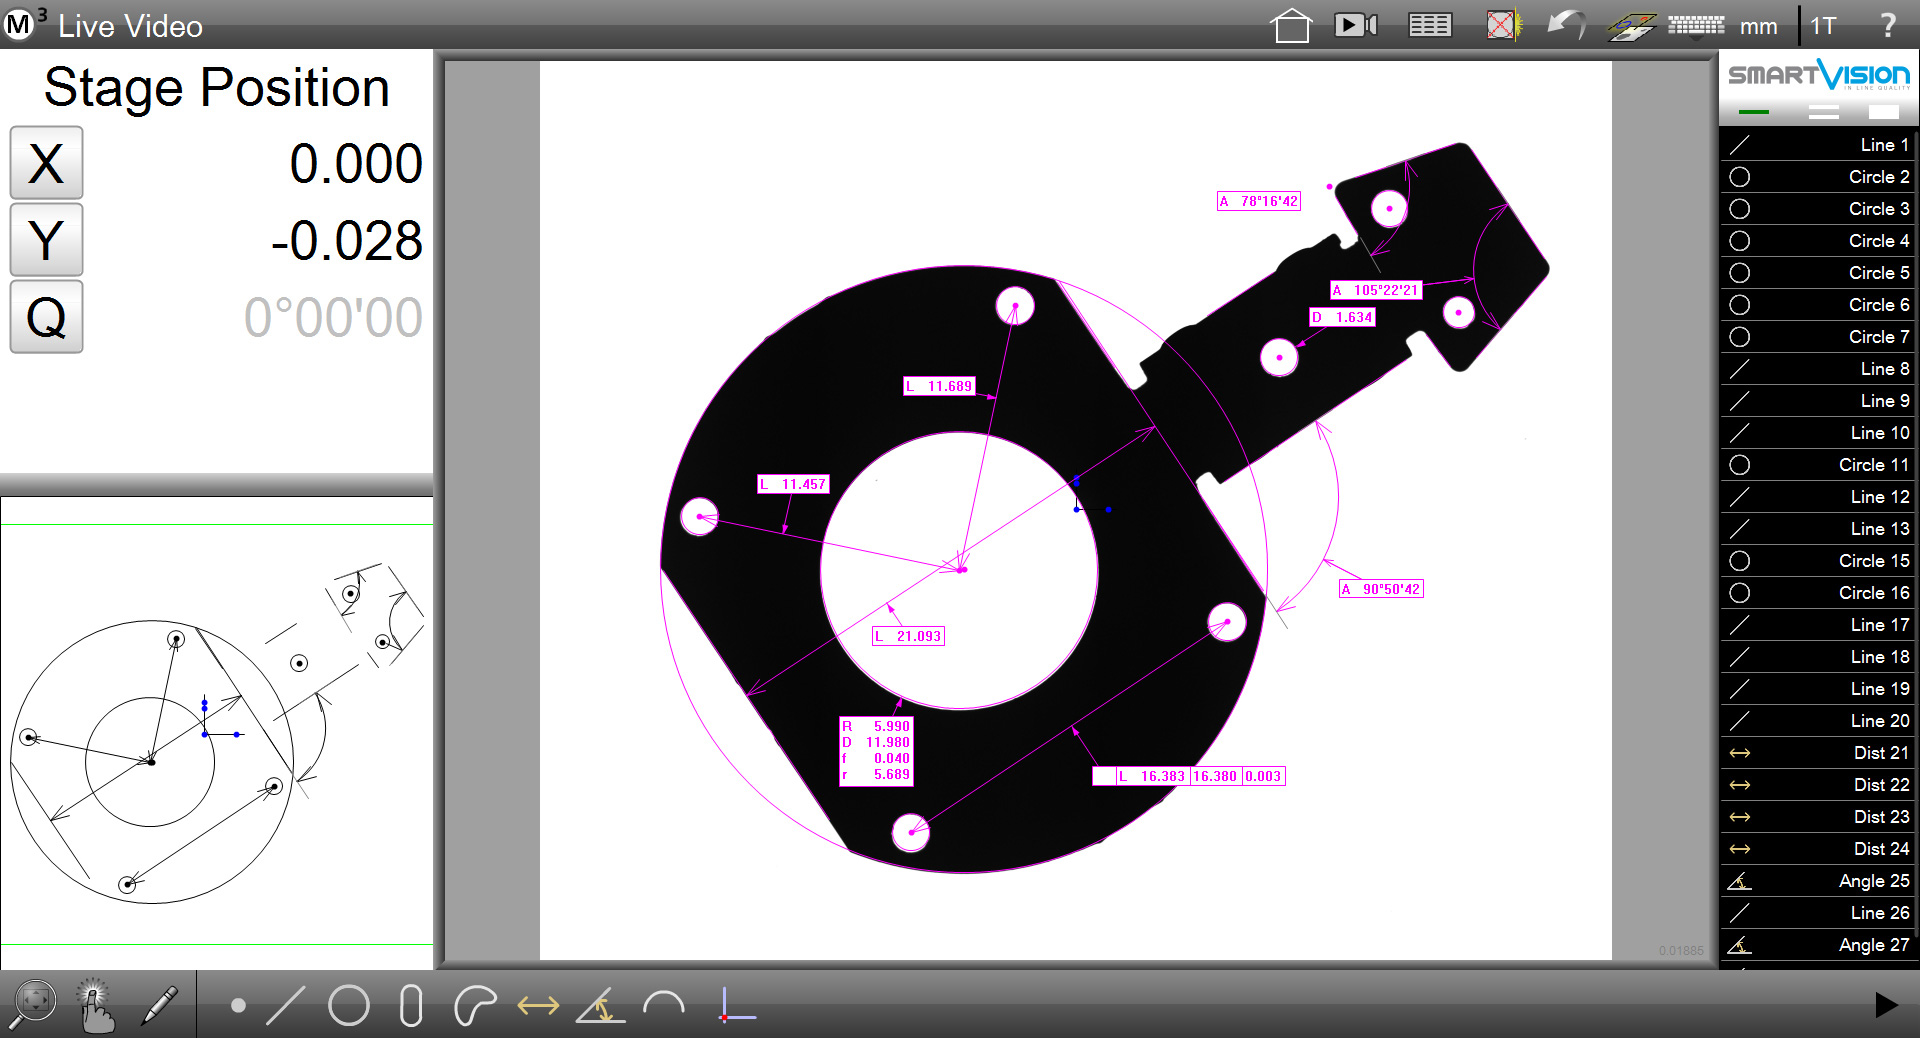
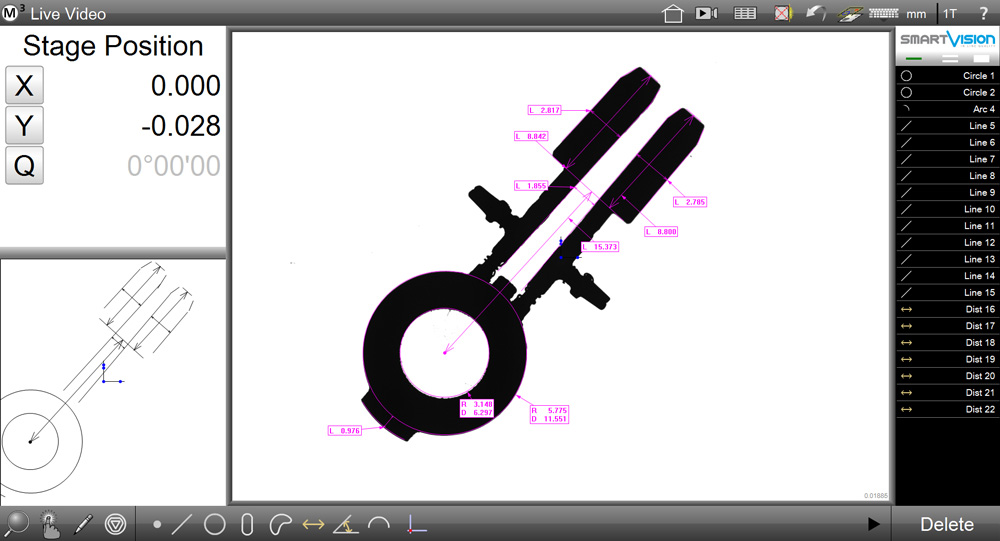
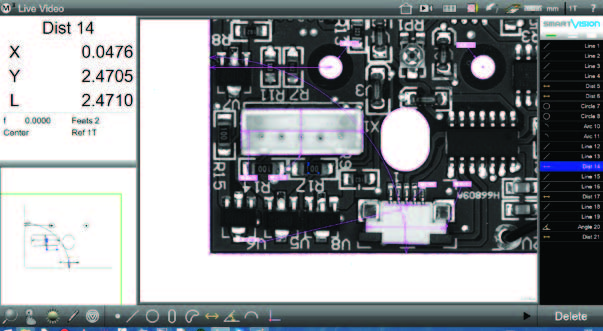
- Increases number of quotas and quality check rate, up to 16000 checking features in a few seconds
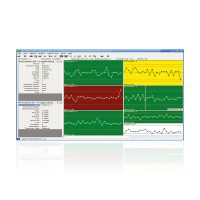
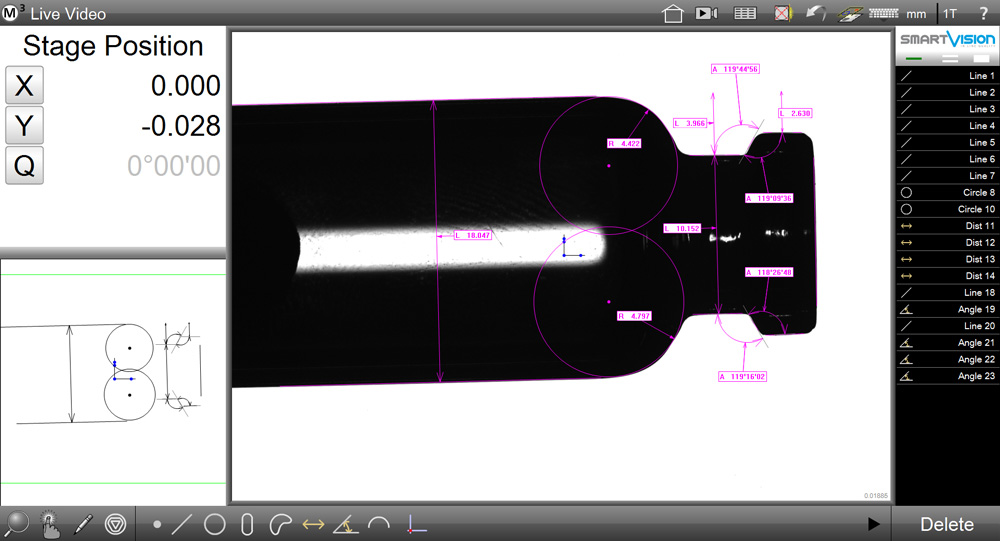
- Performs a full automatic data report, available to processing by SPC software (Min, Max, Range, Average, Std Dev, 6 Sigma)
- Four different FoV in One single instrument
- Compact, Rugged and Fanless industrial case
- Plug-and-play, ready-to-use
- Suitable for unskilled operators use
- Ready for automation
- Clever investment with a fast Return on Investment
- Reduces time and costs of controls
| Measuring Chamber (mm) | 203×225 H.200 |
| Magnification | 4 steps |
| Field of View (FoV) (mm) | ø 12 / 24 / 48 / 90 |
| FoV Diagonal (mm) | – |
| FoV Area (mm2) | 78 / 314 / 1256 / 5026 |
| Type of FoV | Circular |
| Repeatability accuracy | ±0.25 / ±0.4 / ±0.6 / ±1 μm |
| Measurement accuracy | ±0.4 / ±0.8 / ±1.5 / ±3 μm |
| Layout usage | Vertical – Horizontal |
| Diascopic Light | Collimated |
| Episcopic Light | Yes |
| Light receiving lens | Telecentric lens |
| Communication Interface | Gigabit Ethernet + USB 2 |
| Dimensions (mm) | 282×330 H.1025 |
| Weight (kg) | 42 |
| Case | Rugged stainless steel |
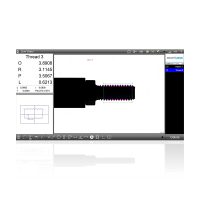
- Automatic feature recognition
- Software programmable light
- Quick Annotate and markup
- CAD import / export (dxf file)
- Automatic data report export (xlsx, csv, tsv, txt)
- Print report (pdf)
- Multi language interface
Rugged stainless steel industrial case
Compact static equipment
[/hotspotitem]
[hotspotitem]
Industrial high resolution camera
High performance Bi-Telecentric Optics
Focus adjusting
[/hotspotitem]
[hotspotitem]
Software programmable
Episcopic Light (4 independent sectors)
[/hotspotitem]
[hotspotitem]
Protected Three Side Open measuring chamber
Easy object placement
Height-adjustable interchangable glass
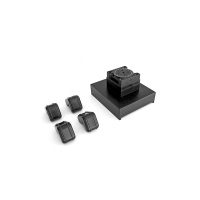
Customizable loading plate
[/hotspotitem]
[hotspotitem]
Software programmable
Collimated Diascopic Light
[/hotspotitem]
[hotspotitem]
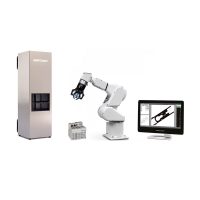
Suitable for the production line
Ready for Automation
[/hotspotitem][/cq_vc_hotspot]
Powerful All-In-One PC
[/hotspotitem][hotspotitem]
HD Touchscreen
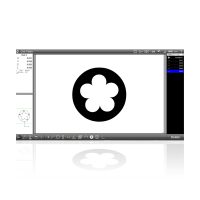
Intuitive measurement software
[/hotspotitem][hotspotitem]
Record programs
with a finger touch
[/hotspotitem][hotspotitem]
Automatic feature
recognition
[/hotspotitem][hotspotitem]
Up to 16.000 features
per item
[/hotspotitem][/cq_vc_hotspot]


